Large-scale panorama photography is a breathtaking art form that requires precision, patience, and the right equipment. When it comes to capturing these expansive scenes, medium format cameras stand out as the preferred choice for professional photographers.
These cameras offer unmatched image quality, dynamic range, and detail, making them ideal for large-scale panoramic images that can be printed at massive sizes.
In this guide, we will explore how to effectively use medium format cameras to achieve stunning panoramic shots.
Why Choose a Medium Format Camera for Panorama Photography?
| Image | Product | Price |
|
Our Pick
1

|
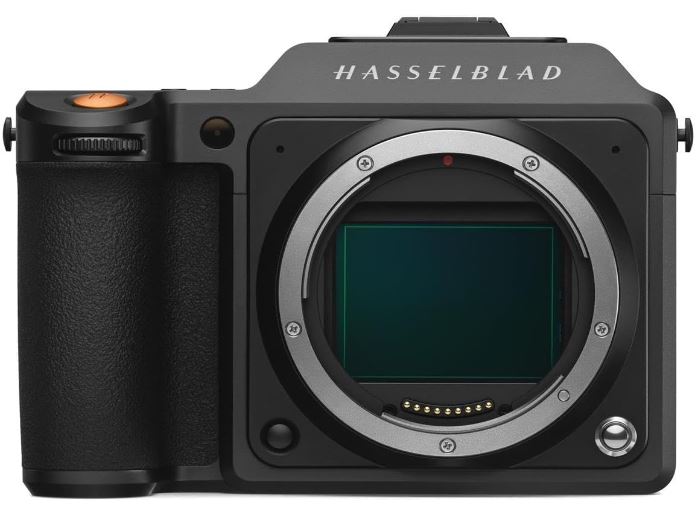
Hassel X1D |
|
|
2

|
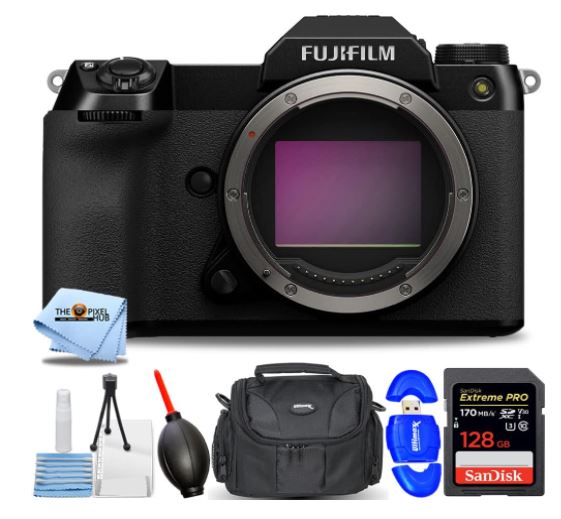
Fujifilm GFX |
|
|
3

|
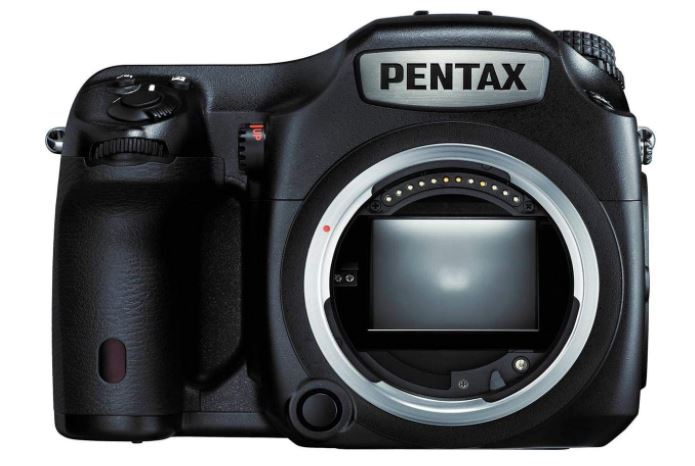
Pentax 6457 |

Medium format cameras are known for their superior resolution and image quality compared to their full-frame and crop-sensor counterparts. With larger sensors, these cameras can capture more detail, richer colors, and better depth of field, which are crucial for panoramic photography.
Whether you are photographing vast landscapes, cityscapes, or architectural marvels, the medium format camera’s ability to preserve fine details ensures that your panoramic images will be of the highest quality.
Understanding the Basics of Panorama Photography
Before diving into the specifics of using a medium format camera for panorama photography, it is essential to understand the fundamentals of creating panoramic images. Panoramas are typically stitched together from multiple overlapping photos, taken in a sequence, to create a wide, continuous image. The key to a successful panorama is ensuring that the images are well-aligned and seamlessly merged.
Steps to Create a Panorama with a Medium Format Camera
1. Plan Your Shot
Proper planning is critical in panoramic photography. Begin by scouting your location to determine the best vantage point. Consider the lighting conditions, the direction of the sun, and any potential obstacles in your shot. Visualize the final image and decide the extent of the panorama you want to capture.
2. Use a Tripod and Panoramic Head
Stability is paramount when shooting panoramas. Use a sturdy tripod equipped with a panoramic head to ensure smooth, precise movements. A panoramic head allows you to rotate the camera on its nodal point, reducing parallax errors when stitching the images together.
3. Set Your Camera to Manual Mode
To maintain consistent exposure across all shots, set your medium format camera to manual mode. This prevents changes in exposure between frames, which can lead to uneven lighting in the final stitched image. Additionally, use manual focus to keep the focus point consistent throughout the series of shots.
4. Choose the Right Lens
While medium format cameras offer exceptional image quality, choosing the right lens is just as important. A wide-angle lens is often the best choice for panorama photography as it allows you to capture more of the scene in each frame. However, avoid lenses with significant distortion, as this can complicate the stitching process.
5. Overlap Your Shots
Overlapping is crucial for successful stitching. Aim for a 30-50% overlap between each frame to ensure there is enough data for the stitching software to work with. This overlap helps in aligning the images accurately and minimizing any stitching errors.
6. Keep the Horizon Straight
Maintaining a level horizon is essential in panoramic photography. Use the electronic level in your camera or an external bubble level attached to your tripod to ensure the horizon remains straight throughout the sequence of shots. A crooked horizon can be difficult to correct during post-processing.
7. Take Multiple Exposures
In challenging lighting conditions, such as during sunrise or sunset, consider taking multiple exposures of each frame (bracketing). This technique allows you to merge the exposures in post-processing to create a high dynamic range (HDR) panorama, capturing both the highlights and shadows.
Post-Processing Your Panoramic Images
Once you have captured all the necessary frames, the next step is to stitch them together using post-processing software. Here’s how to do it:
1. Import Your Images into Stitching Software
Programs like Adobe Lightroom, Photoshop, or dedicated panorama software like PTGui can automatically stitch your images together. Import your photos and let the software align and merge them into a seamless panorama.
2. Correct Lens Distortion
Even with careful shooting, some distortion may occur, especially with wide-angle lenses. Use the lens correction tools in your software to fix any curvature or warping.
3. Adjust Exposure and Color
Fine-tune the exposure and color balance to ensure consistency across the panorama. Pay special attention to the transitions between frames to make sure they are smooth and natural.
4. Crop the Image
After stitching, you may need to crop the image to remove any uneven edges. Be careful not to cut out important parts of the scene. A medium format camera’s high resolution ensures that even after cropping, the image retains exceptional detail.
5. Sharpen and Enhance Details
Use sharpening tools to bring out the fine details in your panorama. Be cautious not to over-sharpen, as this can introduce unwanted artifacts.
6. Print Your Panorama
One of the main advantages of medium format cameras is their ability to produce large, high-quality prints. When printing your panorama, ensure that the resolution is high enough to maintain detail at large sizes. Choose a professional printing service that can handle large-format prints to fully appreciate the quality of your work.
Advanced Tips for Large-Scale Panorama Photography
1. Use a GigaPan System
For extremely large panoramas, consider using a GigaPan system. This robotic mount allows for precise, automated shooting of hundreds or even thousands of images, which can be stitched together to create gigapixel panoramas. Medium format cameras paired with a GigaPan system can produce unparalleled detail in large-scale images.
2. Experiment with Vertical Panoramas
While horizontal panoramas are more common, vertical panoramas can be equally stunning. Use your medium format camera to capture tall structures, waterfalls, or towering landscapes by stitching together a series of vertically aligned images.
3. Incorporate Movement
Adding movement to your panorama, such as flowing water or moving clouds, can add a dynamic element to the image. Use long exposures to create smooth, flowing effects that contrast with the sharpness of the surrounding landscape.
4. Capture Panoramas at Night
Night panoramas can be incredibly striking, especially when capturing cityscapes or starry skies. Use a medium format camera’s high ISO performance to capture detailed images in low light, and stitch them together to create a stunning night-time panorama.
Conclusion
Large-scale panorama photography with a medium format camera is an excellent way to showcase the grandeur of your subject. By following the steps and tips outlined in this guide, you can create breathtaking panoramic images that stand out for their clarity, detail, and composition.
Whether you are a professional photographer or an enthusiast, mastering medium format panorama photography opens up a world of creative possibilities.

